Main Menu sample
An official website of the State of Georgia.
The .gov means it’s official.
Local, state, and federal government websites often end in .gov. State of Georgia government websites and email systems use “georgia.gov” or “ga.gov” at the end of the address. Before sharing sensitive or personal information, make sure you’re on an official state website.
Still not sure?
Call 1-800-GEORGIA to verify that a website is an official website of the State of Georgia.
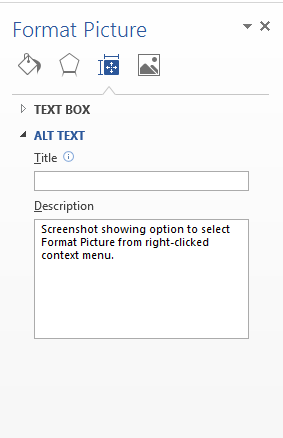
Provide alternative text, or alt text, when a screen reader needs to understand the message provided by the images on a page. If your image contains information or represents something meaningful, determine the message the image conveys and write a short, concise text description that will convey that information. If the image is only decorative, skip the alt text so you don’t distract your users with screen readers from the more important content on the page.
When writing alt text, remember:
Using tables in your documents greatly increases the amount of information a screen reader must dictate to the user. First, the reader announces the the number of rows and columns, then recounts the contents for every single cell in the table. This is a long, laborious process, and you run the risk of your user getting distracted or losing interest quickly.
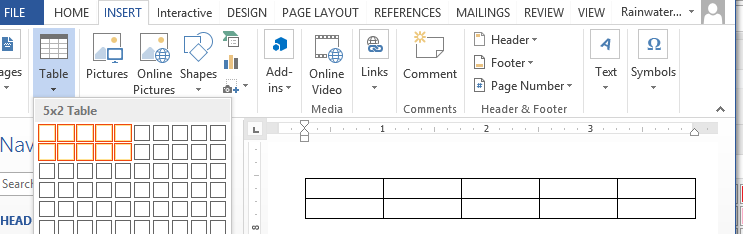
If you must use a table, only use it for tabular data, not plain text. Accessible tables should indicate which cells are for headers and which are for rows. Without those labels, people using assistive technology won’t be able to make sense of the information. Sometimes the reader will speak out the information in a different order than it appears. To avoid these issues, use table styles when developing a table structure.
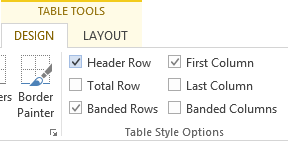
To add a table with headings:
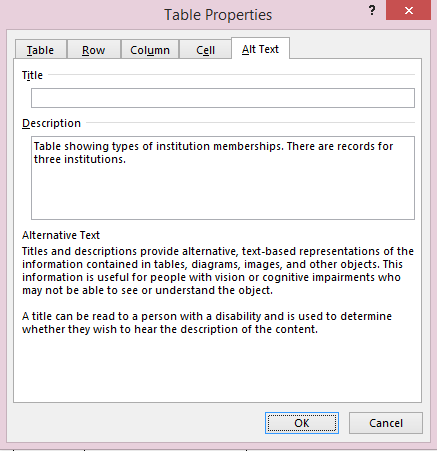
Feel like your content would really benefit from a table but don’t want to put your users through that narration nightmare? Good news! The same way alt text can convey the meaning of an image, the alt text in a table provides users of screen readers the same summary information that sighted users get when quickly browsing a table.
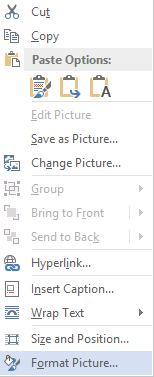
To add alt text to your tables: